docker rm -f web

docker stop web
docker rm web
#Check if Environment Variables are Set in Docker:
docker inspect flask_app_container | grep -i env
#如果不在
docker run -d -p 5000:5000 --name flask_app_container \
-e GENERATIVEAI_API_KEY=your_api_key_here \
my-flask-app:latest
#不知道为什么写在Dockerfile里面 没有用 语法错了?还有就是用compose
docker-compose.yml
version: '3.8'

services:
	web:
		build: .
		ports:
			- "5000:5000"
		environment:
			- GENERATIVEAI_API_KEY=${GENERATIVEAI_API_KEY}
		restart: always
然后再.env 里面
GENERATIVEAI_API_KEY=your_api_key_heredocker-compose up -d # up上次compose 出来的成果 如果上次没有才build
docker-compose up --build # 重新build当前文件夹 tagging and pushing
可以参考: https://www.freecodecamp.org/news/how-to-dockerize-a-react-application/
docker image tag my-username/my-image another-username/another-image:v1pushing步骤
- Create repo
- 本地改image名 本地就要改成 user_name/repo_name:tag 就用上面的tagging方法
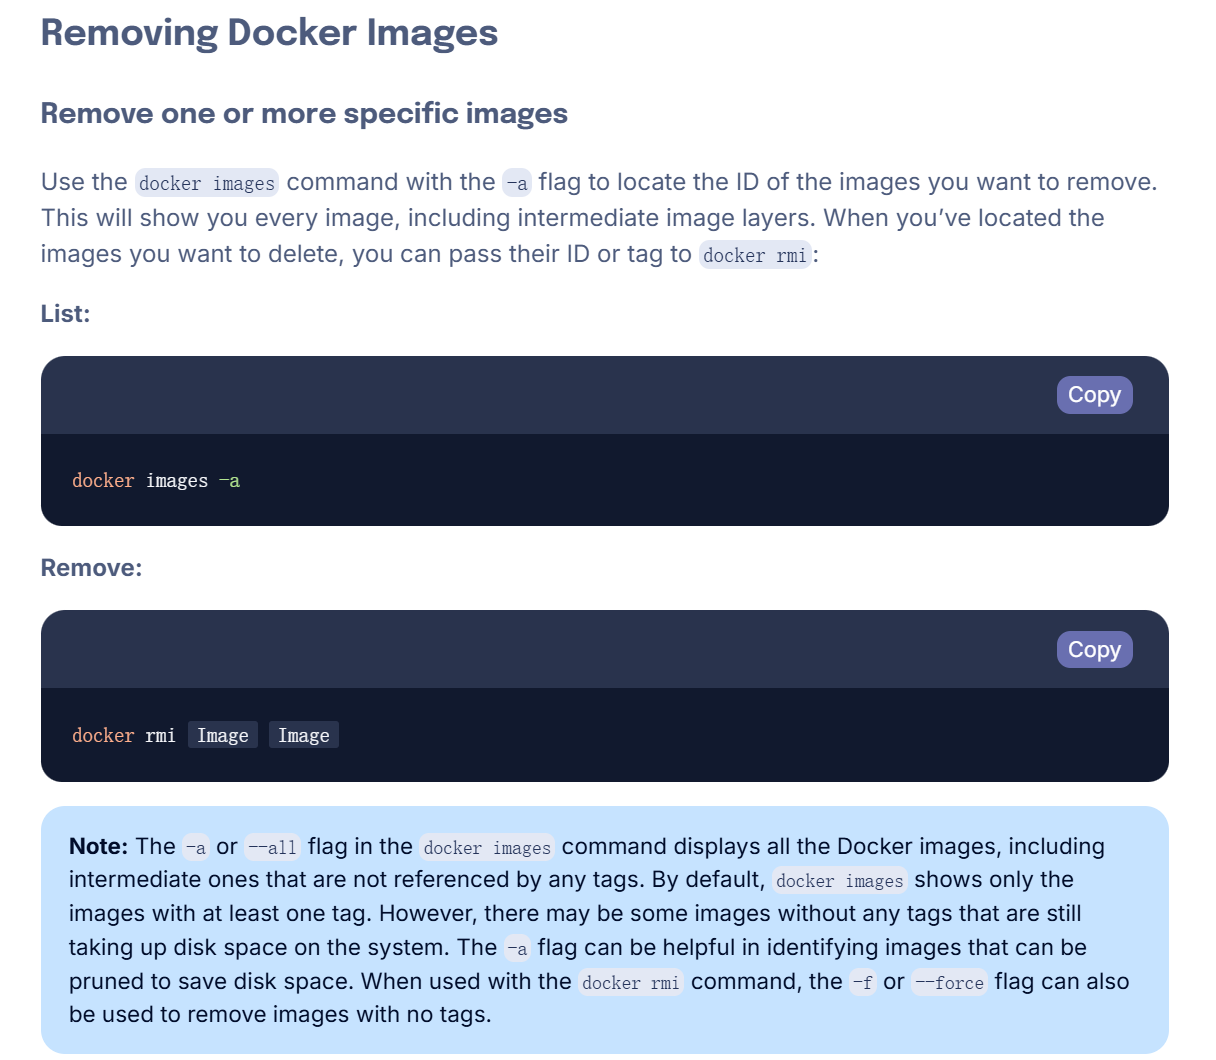
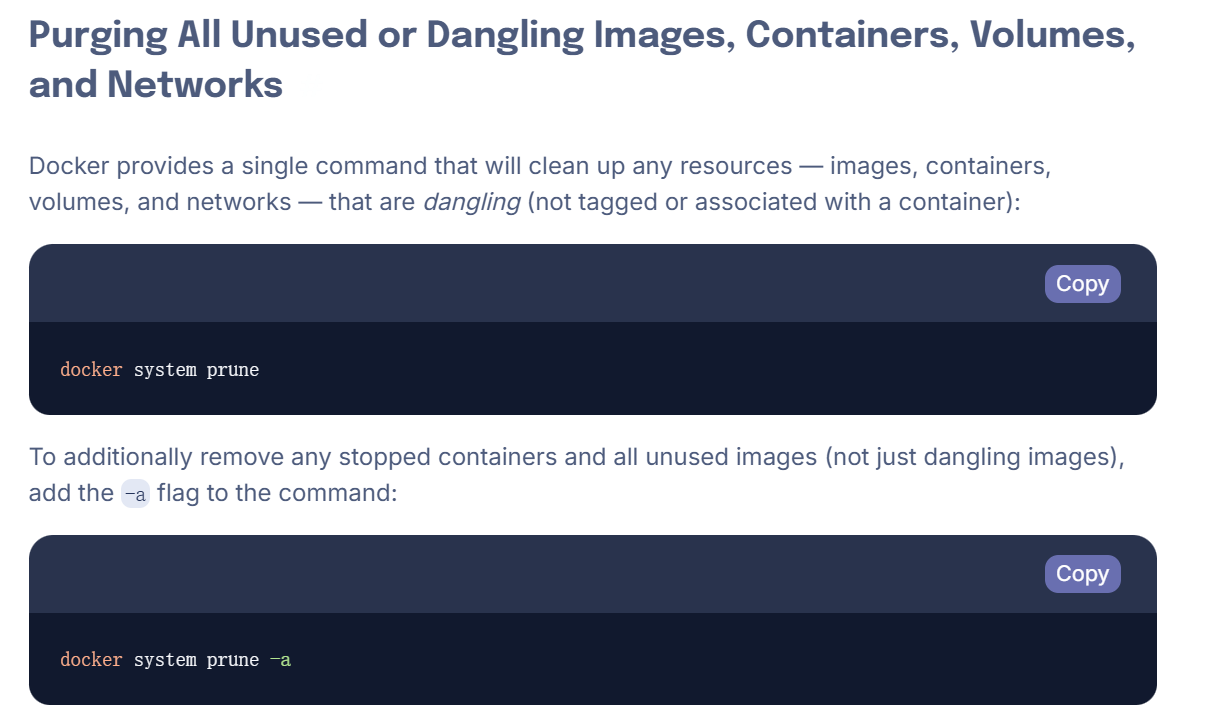
前端 在compose中 与backend在一个network时 specify api endpoint
const API_BASE_URL = process.env.REACT_APP_API_URL || '[http://backend:5000/api](http://backend:5000/api)';也可以不用 现在的一般做法是
本地development (npm start)的时候 在package.json 中标明 proxy 比如说http://localhost:5000
在 production端 前端dokcer file 通过multi stage build 加上nginx 然后在nginx.conf 里面标明每一个api要传递到的 proxy
详细可以看这篇: https://blog.miguelgrinberg.com/post/how-to-dockerize-a-react-flask-project
  # Proxy for Flask API
  location /content1 {
      proxy_pass http://backend:5000;
      proxy_http_version 1.1;
      proxy_set_header Upgrade $http_upgrade;
      proxy_set_header Connection 'upgrade';
      proxy_set_header Host $host;
      proxy_cache_bypass $http_upgrade;

      # CORS headers (if needed)
      add_header 'Access-Control-Allow-Origin' '*';
      add_header 'Access-Control-Allow-Methods' 'GET, POST, OPTIONS';
      add_header 'Access-Control-Allow-Headers' 'DNT,User-Agent,X-Requested-With,If-Modified-Since,Cache-Control,Content-Type,Range';
  }
  ...
在env中怎么区分设置 env.production 和 env.development 还在学习
我们部署在 远程server上时
我一开始尝试的是把构建好的image 全部上传到docker hub 然后从远程抓取运行
忘了为什么没跑起来
后来发现docker context可以很方便
详细看这里: https://www.docker.com/blog/how-to-deploy-on-remote-docker-hosts-with-docker-compose/
最后在docker compose up -d 加一个 —context remote 就行
好像这里加context不行
还是先要context create remote
然后context use remote
注意这里应该是事先ssh连接的 我之前用wsl 做的ssh key pair 在win上需要重新做
这里我首先试了一下 把wsl上ssh 复制过来( ~/.ssh >> C:/user/your_user/.ssh)通过下面代码改权限 并发起连接 可是没有成功
icacls id_ed25519 /inheritance:r /remove "Users" "Authenticated Users" "Everyone”icacls id_ed25519 /grant:r "$($env:root):(R)”
icacls id_ed25519.pub /grant:r "$($env:root):(R)”icacls id_ed25519.pub /grant:r "$($env:root):(R)”ssh -i id_ed25519 [root@](mailto:root@74.207.241.106)xx.xxx.xxx.xxx 之后我通过
ssh-keygen -t rsa -b 4096
重新在win上创了 一对
然后通过
- 复制pub key
type .\id_rsa.pub - mkdir -p ~/.ssh 确认有ssh文件夹
- echo “刚才复制的内容” >> ./ssh/authorized_keys
这样应该就可以连上了